The Most Effective Ways to Prevent Razor Burn Forever: A Barber's Brutally Honest Guide
Stop the burn for good. This brutal, step-by-step barber's guide reveals the 5 shaving sins causing your razor burn and the exact system to eliminate it forever. Ditch the pain, not your razor.
That familiar, fiery sting that makes you regret ever picking up a razor isn't a rite of passage—it's a sign you're doing almost everything wrong.
Let's be brutally honest: razor burn is not a skin type; it's a symptom of poor technique, inferior tools, and a fundamental misunderstanding of what shaving actually is. As a professional barber with over 15 years of experience transforming painful, inflamed skin into effortlessly smooth complexions, I'm here to end the cycle of suffering. This isn't just another list of tips. This is a masterclass in shaving ergonomics, skin science, and product alchemy. Follow this guide meticulously, and you will not just reduce razor burn; you will eliminate it from your life forever.
What Razor Burn Actually Is (And Why It’s Your Fault)
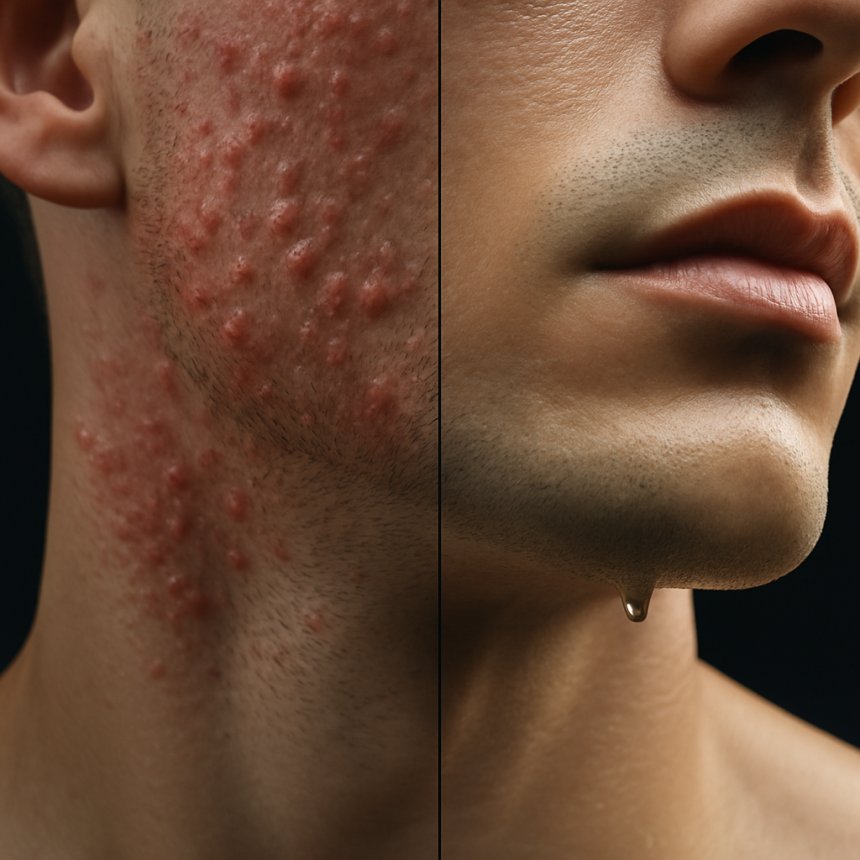
Before we fix the problem, we need to understand the enemy. Razor burn (pseudofolliculitis barbae) is acute skin irritation caused by shaving. It manifests as red, inflamed, itchy, and sometimes bumpy skin shortly after you shave.
Razor bumps are often used interchangeably with razor burn, but they are a more severe, specific condition where the hair curls back and re-enters the skin, causing a foreign body reaction (ingrown hairs).
The Brutal Truth: Razor burn occurs when a blade, dull or sharp, doesn't cleanly cut the hair. Instead, it scrapes, tugs, and traumatizes the surrounding skin. It's a friction burn combined with microscopic abrasions that become infected with bacteria. The primary causes are always one or more of the following:
1. Blunt or Clogged Blades: A dull blade doesn't cut; it pulls and rips.
2. Zero Lubrication: Shaving without a proper slick medium is like sanding wood without sandpaper.
3. Poor Technique: Using too much pressure, going over the same spot repeatedly, and shaving against the grain on the first pass.
4. Skin unprepared: Shaving over dry, dead skin cells is like trying to mow a lawn covered in gravel.
5. Toxic Aftercare: Using alcohol-based products that nuke your already compromised skin barrier.
If you see redness, you've failed one of these five fundamentals. Accept it, and let's move on to the solution.
The Unskippable Foundation: Pre-Shave Rituals (The 80/20 Rule)
80% of preventing razor burn happens before the razor ever touches your skin. This is non-negotiable.
1. The Pre-Shave Exfoliation (24 Hours Before)
Do not exfoliate immediately before shaving. This is a critical mistake that creates micro-tears and maximizes irritation. Exfoliate the night before your shave.
· Why: Your goal is to remove dead skin cells that clog your razor and trap hairs, allowing for a smoother glide and preventing ingrowns. Doing it the night before gives your skin time to calm down.
· How: Use a gentle chemical exfoliant (AHA like glycolic acid or BHA like salicylic acid) or a soft, non-abrasive physical scrub.
· Pro Barbers' Choice: A salicylic acid wash (BHA) is superior as it cleans out pores and follicles.
2. The Hydration Bomb: The Warm Shower
Never, ever dry shave. The single most important pre-shave step is hydrating the beard. A dry hair is as tough as copper wire of the same diameter. A saturated hair swells and becomes up to 70% easier to cut.
· Why: Hot water and steam soften the hair shaft and relax the skin.
· How: Shave after your shower, not before. Spend at least 2-3 minutes letting the hot water work on your beard. If you can't shower, place a hot, wet towel on your face for at least two full minutes. Re-wet it once as it cools.
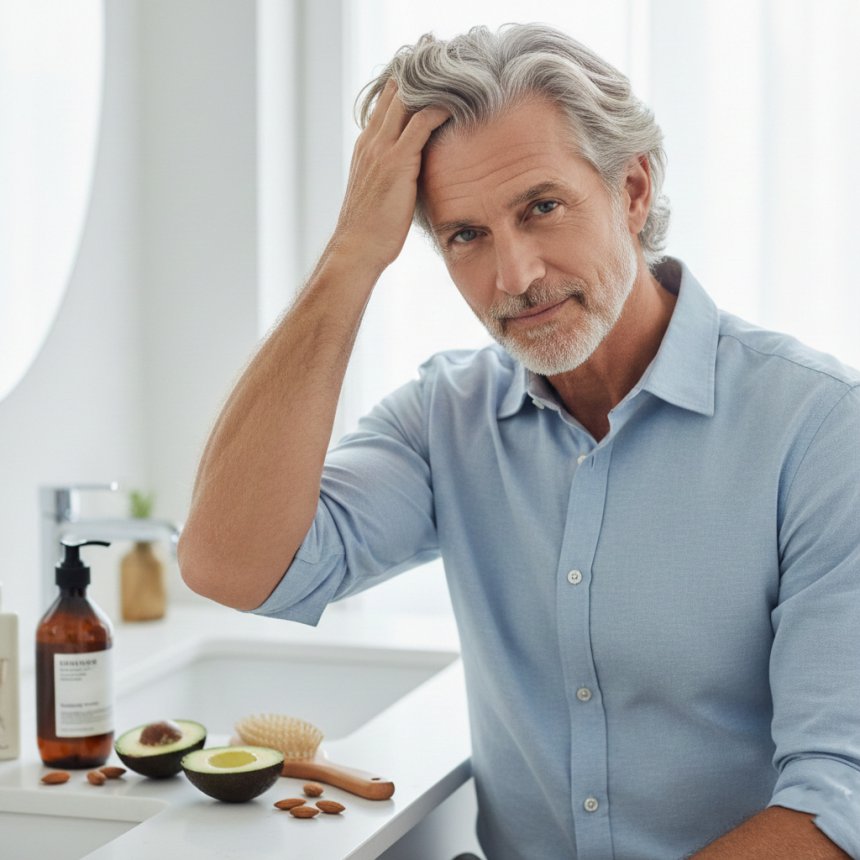
3. Pre-Shave Oil: The Secret Weapon
This is the step amateurs skip and professionals swear by. A few drops of pre-shave oil applied to a damp face after the shower creates an impermeable barrier and adds a crucial layer of glide.
· Why: It protects the skin's surface, adds slickness, and helps your shaving cream or soap hold more water, leading to a richer lather.
· How: Apply 3-4 drops to your fingertips and massage into your beard area. Your skin should be damp, not dry. Look for non-comedogenic oils like jojoba, grapeseed, or almond oil.
The Main Event: The Perfect Shave Technique
This is where the magic—or the massacre—happens.
1. The Lather: Building Your Protective Cushion
Forget canned goo. It's mostly air, propellants, and drying agents that create a weak, dissipating foam. You need a true, hydrated lather from a quality shaving cream or soap, built with a brush.
· Why a Brush? A badger or synthetic brush does three things: it exfoliates lightly by lifting hairs, it helps create a rich, creamy lather that holds water, and it spreads that lather perfectly into the beard.
· How to Build Lather:
1. Soak your brush in warm water.
2. If using a shaving soap, swirl the damp brush vigorously on the soap for 30 seconds to load it with soap.
3. Transfer to a bowl or directly to your face and swirl/pump until the lather transforms from bubbly to a thick, yogurty consistency with peaks. Add water drop by drop as needed.
2. The Tool: Choosing Your Weapon
· Multi-Blade Cartridge Razors: The devil you know. They are the leading cause of razor burn. Here's why: the first blade pulls the hair up, and the subsequent blades cut it below skin level. This is called "hysteresis." The hair then retracts below the skin, often causing ingrowns. The multiple blades also create more friction and clog easily.
· Safety Razors (The Gold Standard): A single, extremely sharp blade cuts the hair cleanly at skin level without pulling it. It creates far less friction and irritation. It's cheaper (blades cost pennies), gives a closer shave, and is environmentally friendly. The learning curve is mild, and the rewards are infinite.
· Electric Razors: Hit or miss: They don't provide as close a shave and can still irritate. They work best for those who can't tolerate blades at all. If you use one, ensure it's high-quality and your skin is perfectly dry.
My Verdict: Switch to a safety razor. It is the single most impactful change you can make to eliminate razor burn. A Merkur 34C or Edwin Jagger DE89 is a perfect starter.
3. The Technique: The Barber's Method
The Three-Pass Shave: This is the professional, guaranteed method for a close, irritation-free shave.
· Pass 1: With The Grain (WTG)
· Goal: Reduce the bulk of the beard, not eliminate it.
· Action: Use ZERO pressure. Let the weight of the razor do the work. Your job is to guide it. Use short, deliberate strokes. Rinse the razor frequently. Pull your skin taut with your free hand to create a flat surface.
· Pass 2: Across The Grain (XTG)
· Goal: Further reduce the hair without risking irritation.
· Action: Re-lather your face completely. Shave perpendicular to the direction of hair growth (e.g., from ear to nose on the cheeks). Again, NO PRESSURE.
· Pass 3: Against The Grain (ATG) - The Optional Finisher
· Warning: Do not attempt this pass if you are prone to severe razor burn or ingrown hairs. This is an advanced move for a "baby butt smooth" finish.
· Action: Re-lather. Shave in the opposite direction of hair growth. This requires absolute perfection in angle, pressure, and blade sharpness. If you feel tugging, stop immediately.
Mapping Your Beard: Your hair doesn't grow in one uniform direction. Spend time feeling your beard growth. Your neck is a chaos pattern of swirls and changes. Shave according to your unique map, not a generic instruction.
The Immediate Aftermath: Post-Shave Soothing and Repair
What you do after you shave is just as critical as what you do before. Your skin is traumatized, even if you can't see it yet.
1. The Cold Water Rinse: Immediately after your final pass, splash your face with cold water for 30 seconds. This closes the pores, soothes the skin, and reduces inflammation.
2. Pat Dry, Never Rub: Use a clean, soft towel to gently pat your face dry. Rubbing will cause instant irritation.
3. The Alcohol-Free Toner: This is a game-changer. Use an alcohol-free, soothing toner with ingredients like witch hazel, aloe vera, or chamomile. It restores skin pH, removes any last traces of soap, and provides a hit of anti-inflammatory agents.
4. The Healing Balm (Not Astringent): Never use an alcohol-based aftershave splash. You are pouring fuel on a fire. You need a healing balm. Look for products with:
· Soothing Agents: Aloe Vera, Allantoin, Panthenol (Vitamin B5), Oat Extract.
· Antimicrobials: Tea Tree Oil (diluted), Witch Hazel.
· Moisturizers: Shea Butter, Glycerin, Hyaluronic Acid.
· Avoid: Heavy fragrances and alcohol.
5. Moisturize: After the balm has absorbed, apply a light, non-comedogenic moisturizer to lock in hydration and support the skin barrier.
Advanced Troubleshooting: Conquering Specific Problems
The Neck Beard Nemesis
The neck is the most common site for razor burn because the hair grows in multiple, unpredictable directions and the skin is more sensitive.
· Solution: Map your neck growth meticulously. Never shave ATG on the neck on your first try. Stick to WTG and XTG passes only. Use even less pressure than on your face.
Ingrown Hairs and Razor Bumps
This is when the hair curls back and grows into the skin.
· Prevention: Consistent exfoliation (chemical is best), never shaving too close, and using a single-blade razor.
· Treatment: Apply a warm compress to draw the hair out. Use a sterile needle or tweezers to gently free the tip of the hair. Do not dig for it. Use targeted treatments with salicylic acid or glycolic acid.
When to Replace Your Blade
This is not a place to be cheap. A dull blade is your worst enemy.
· Cartridge Razors: Change after 5-7 shaves.
· Safety Razors: Change the blade every 1-3 shaves. They are dirt cheap. There is no excuse. If you feel any tugging or resistance on the first stroke, the blade is done. Change it.
The Ultimate Product Arsenal: What to Actually Buy
· Pre-Shave Oil: Jack Black Supreme Cream Triple Cushion Shave Lather or The Art of Shaving Pre-Shave Oil
· Shaving Brush: Simpson Trafalgar T3 (Synthetic) or any mid-range badger brush.
· Shaving Soap: Taylor of Old Bond Street (Sandalwood), Proraso (Sensitive Skin), or Barrister and Mann.
· Safety Razor: Merkur 34C Heavy Duty (Perfect for beginners)
· Blades: This is highly personal. You must try a sampler pack (e.g., from Tryablade.com) to find which brand works best for your skin and razor. Popular brands include Astra Superior Platinum, Feather (very sharp), and Gillette Silver Blue.
· Toner: Thayers Alcohol-Free Witch Hazel Toner (Unscented)
· Healing Balm: Baxter of California After Shave Balm, Kiehl's Ultimate Razor Burn Relief, or CeraVe Moisturizing Cream.
The One-Page, Brutally Concise Checklist to Forever Prevent Razor Burn
Print this. Put it on your mirror.
Step Action Key Principle
24H Pre Gently exfoliate with BHA/AHA. Remove dead skin, prevent ingrowns.
Pre-Shave Take a hot shower (3 min+ on beard). Soften the hair. NON-NEGOTIABLE.
Apply 3-4 drops of pre-shave oil to damp skin. Create a protective barrier.
Build a rich, yogurty lather with a brush and quality soap. Create cushion and glide.
Shave Use a sharp blade (new safety blade or fresh cartridge). A dull blade is the #1 cause of burn.
First Pass: With The Grain (WTG). ZERO pressure. Reduce bulk, don't eliminate.
Rinse razor frequently. Prevent clogging and dragging.
Re-lather completely. Never shave over unlathered skin.
Second Pass: Across The Grain (XTG). ZERO pressure. Further reduction, minimal risk.
(Optional) Third Pass: Against The Grain (ATG). Advanced move only. Abort if tugging.
Post-Shave Splash face with cold water for 30 sec. Close pores, soothe skin.
Pat dry with a clean towel. Do not rub.
Apply alcohol-free, soothing toner. Restore pH, reduce inflammation.
Apply a healing balm, not an alcohol splash. Repair the skin barrier.
Moisturize. Lock in hydration.
Top 5 Questions People Ask
1. Question: Why do I get razor burn on my neck every single time?
Answer: Your neck is the most common trouble spot because the hair grows in multiple, unpredictable directions (swirls and cowlicks), and the skin is significantly more sensitive and thinner than on your face. The primary cause is almost always shaving "against the grain" on your first pass without properly reducing the hair length first, combined with using too much pressure from a multi-blade cartridge razor that pulls and cuts hairs too deeply.
2. Question: How can I get a close shave without getting razor bumps?
Answer: A close shave does not require shaving against the grain immediately. The secret is the "Three-Pass Shave": first with the grain to reduce bulk, then across the grain to get closer, and only then, if your skin can tolerate it, against the grain for ultimate smoothness. Using a single-blade safety razor is critical, as it cuts hair cleanly at the skin level instead of pulling it underneath, which is what causes bumps and ingrown hairs.
3. Question: What is the fastest way to get rid of razor burn overnight?
Answer: While true healing takes time, you can dramatically reduce inflammation overnight. Immediately after shaving, rinse with cold water, then apply a cold compress for 5 minutes. Follow with a generous layer of a pure, alcohol-free soothing agent like aloe vera gel or a product containing panthenol (Vitamin B5) and allantoin. Avoid any products with fragrance or alcohol, as they will worsen the burn.
4. Question: Is it better to use an electric razor to avoid razor burn?
Answer: It's a trade-off. Electric razors can cause less irritation for some because they don't cut as deeply below the skin, reducing the risk of ingrown hairs. However, they can still tug and irritate the skin's surface, especially if used on dry skin or with a dull blade. For a definitively close and irritation-free shave, a single-blade safety razor with proper technique is superior. Electric razors are best for those who prioritize speed and can't tolerate any blades.
5. Question: What ingredient in shaving cream causes razor burn?
Answer: The problem is rarely one ingredient but the formulation. However, the biggest culprits in many canned shaving gels and foams are highly concentrated surfactants (like Sodium Lauryl Sulfate) and propellants (like isobutane) that strip the skin of its natural oils, and denatured alcohol which is extremely drying. These ingredients create a weak, airy lather that dissipates quickly, offering poor protection and leading to friction and inflammation.
5. FAQ Section (Addressing Common Doubts)
Q1: I have very sensitive skin. Is razor burn just inevitable for me?
A: No. "Sensitive skin" is often misdiagnosed. It's typically skin that is reactive to bad technique and harsh products. By switching to a single-blade razor, using a pre-shave oil, and applying zero pressure, you remove the primary irritants. Your skin isn't sensitive to shaving; it's sensitive to abuse.
Q2: Does alcohol-based aftershave help or hurt razor burn?
A: It hurts, 100%. Applying alcohol to razor burn is like pouring gasoline on a fire. It annihilates your already compromised skin barrier, causing intense stinging, dryness, and delayed healing. Always choose an alcohol-free toner or a healing balm designed to soothe and repair, not punish.
Q3: If I exfoliate right before shaving, will I get a closer shave?
A: Absolutely not. This is a critical mistake. Exfoliating immediately before shaving creates micro-tears in the skin and exposes raw, sensitive layers to the blade, guaranteeing irritation and razor burn. You must exfoliate the night before to clear dead skin cells and allow your skin to recover.
Final, Unfiltered Truth
Preventing razor burn forever isn't about finding a miracle product. It's about adopting a disciplined, respectful system. Your skin is not an enemy to be conquered with brute force; it's a partner in the process. It requires preparation, the right tools, flawless technique, and mindful recovery.
Stop blaming your "sensitive skin." Your skin is sensitive to bad technique. Implement this system with patience and precision. The first shave might take you 20 minutes. Soon, it will be a quick, meditative, and—most importantly—painless ritual. The end of razor burn starts with your very next shave. You have the knowledge. Now go and execute.
Share
What's Your Reaction?
 Like
0
Like
0
 Dislike
0
Dislike
0
 Love
0
Love
0
 Funny
0
Funny
0
 Angry
0
Angry
0
 Sad
0
Sad
0
 Wow
0
Wow
0